
Supplies:
- White t-shirt (I got a large, and I usually wear a small)
- Tie-dye kit (I used the Tulip brand from Wal-Mart)
- Needle and thread
Directions:
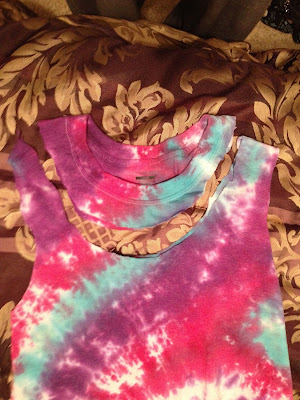
- Tie-dye the shirt -- The kit came with an instruction booklet with different ways to tie-dye. I chose to do the spiral, because it looked the easiest. All you do is pinch where you want the middle of the spiral to be, then keep twisting it. Place three rubber bands on the shirt to secure it, separating the shirt into six sections.

- Fill each section with a different color, trying not overlap the colors. Flip over on back and add more die if the color has not soaked through.

- Place the shirt in a plastic bag and let sit for 6-8 hours. Rinse the shirt out in the sink or bathtub then wash the shirt by itself in a large load. My washer is a little ghetto, and it won't run unless the whole washer is full, so I had to hand wash it about five times before the water became clear. Then dry the shirt by itself.

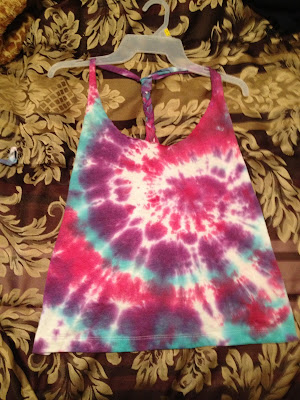
- Lay the shirt flat, then cut off both of the sleeves, creating a U-shape. Don't throw these out. You'll need them later.


- Flip the shirt over then cut the sleeves to make the holes bigger, but only do this in the back, making a wide racer-back shape.


- Flip the shirt back over, and cut the collar off. This is where I messed up, because I got a little scissor happy and cut into the sleeves, which is mine turned out a little shorter than intended.
- Flip to the back of the shirt and cut a straight line below your collar, cutting your racer back off. (I had to skip this step because mine was already off. Oops.)
- Cut the racer back into 3 vertical strips then braid the strips all the way up. Use your needle and thread to sew the end of your braid together.


- Take your collar and fold it in half. Mark where the center is. Make a few stitches connecting your braid to the center of your collar.

- Cut a strip of fabric from one of your sleeves - about 1.5 inches wide and 4 inches long. Use this fabric to cover your stitching. Stitch the end of the strip to the connection and wrap it around to cover your previous stitching. Connect your fabric at the end, and you're done!

 -- tiffanykhyla.


No comments :
Post a Comment